


Cityscapes come alive after dark, with glowing skylines, illuminated bridges, and bustling nightlife that make for lovely photographs. Mastering the right night picture settings can flip normal pictures into breathtaking works of art. Whether you’re taking pictures in Pittsburgh, experimenting with low-mild picture settings, or gaining knowledge of newbie night photography settings, having the proper approach guarantees each body captures the magic of the night. From creative photos to skyline pictures, knowing how to shoot at night and applying lengthy publicity images will enhance your capabilities. This guide covers the whole thing you want to take your town night-time pictures from properly to unforgettable.
Night photography isn’t just about pointing your digital camera at glowing homes. It calls for careful modifications to settings, because the shortage of natural mild demands your digital camera’s capability to capture information. Proper nighttime picture settings control how much light enters your lens, preventing blurry or underexposed photographs.
Think of your settings as a balancing act: ISO, shutter speed, and aperture all paintings together. Get it wrong, and your photographs may additionally appear grainy or dark. Get it proper, and also you’ll create sharp, colourful pix complete of intensity.
Mastering night images recommendations is about both technical understanding and innovative imagination and prescience. If you’re just beginning out, these steps will help:
Whether you’re in Pittsburgh capturing the skyline or capturing a quiet street, those nighttime photography guidelines make sure your photographs continue to be crisp and visually compelling.
One of the maximum crucial parts of shooting after dark is understanding how to adjust low-light image settings. This entails balancing three middle factors:
Experimenting with these low-light image settings facilitates you to adapt to specific environments, whether or not it’s vibrant neon signs or dimly lit alleys.
Learning how to shoot at night begins with training and experimentation. The intention isn’t simply to capture light but to apply darkness creatively.
If you’re taking pictures in Pittsburgh, iconic spots like the Three Rivers, the Duquesne Incline, and the Strip District are perfect for training how to shoot at night while experimenting with metropolis lights.
For rookies, learning novice nighttime picture techniques is much less intimidating than it seems. With a few adjustments, you may reap professional-looking results.
These amateur night photo techniques will speedily increase your work while giving you a number of innovative options.
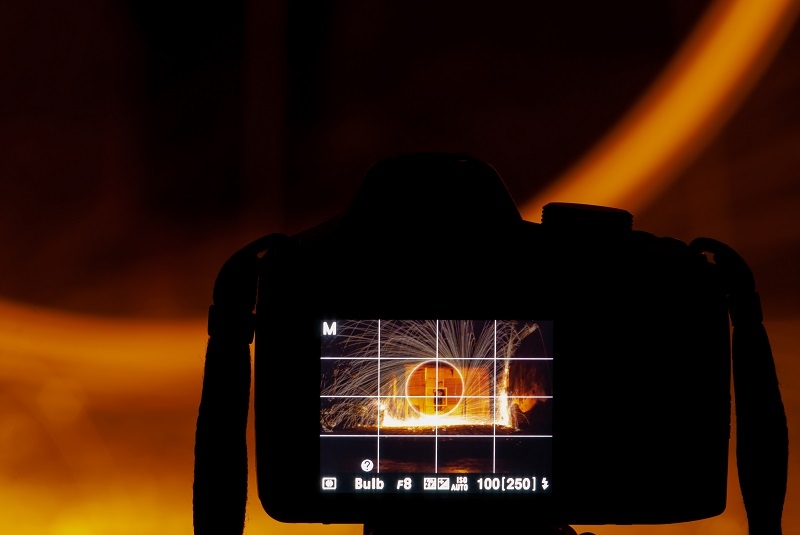
Without going over the basics of prolonged publicity snapshots, no academic to night images settings will be complete. This technique creates dramatic results via the usage of permitting your camera's sensor to steadily capture moderate.
These lengthy publicity photography fundamentals help transform a static metropolis scene into a dynamic masterpiece full of mild and movement.
Few towns image as superbly at night as Pittsburgh. With its iconic bridges, rivers, and illuminated skyline, the city offers countless possibilities to apply your nighttime photography settings.
Pittsburgh images permits you to combine urban ingenuity with low-light situations, which provides technical precision and artistic flair to your pictures.
Even experienced photographers battle with taking pictures after dark. Here are not unusual mistakes and the way to avoid them:
Avoiding these mistakes guarantees your night photography settings supply consistently strong photographs.
Once you’re snug with the fundamentals, strive these superior nighttime images pointers to refine your craft:
These advanced nighttime images guidelines will push your skills past popular metropolis shots into more creative territory.
In low light, gadget also topics, even though settings are critical:
Good equipment, mixed with robust night photography settings, ensures reliable and beautiful outcomes.
In post-processing, you can bring out the satisfaction in your nighttime photos.
Unprocessed images come to be skillfully finished portions of artwork through enhancing, which complements your understated images method.
Learning how to seize the excellent town photographs with nighttime image settings can rework ordinary city scenes into breathtaking images. By gaining knowledge of publicity, ISO, and shutter speed, you’ll convey the glow of streetlights, reflections, and architectural details that define town nightlife. Experimenting with lengthy exposures allows you to create dynamic mild trails, while adjusting aperture guarantees clarity and depth in your frames.
With patience and exercise, these strategies help reveal the precise man or woman of cityscapes after dark. Whether you’re a beginner or an experienced photographer, refining your nighttime settings guarantees every shot captures the magic of city nights.
This content was created by AI